How to make a joiner photograph - Step 2
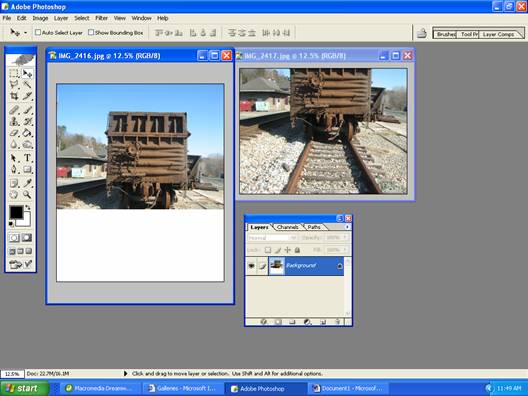
When the area has been increased you can drag out the image to look like the following:

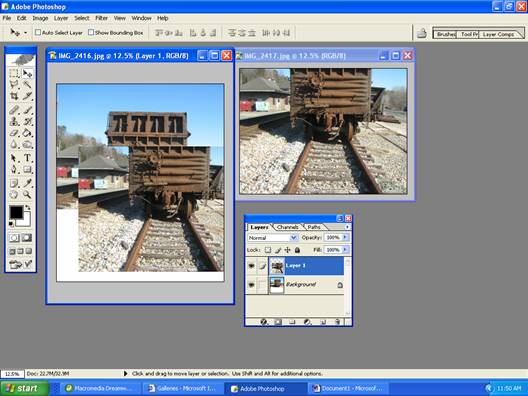
The simplest way to put the second image into the first is to drag and drop. You point to the right hand image, left click and hold down, then drag the pointer to inside the first image and release:

To line up the images one on top of the other so they look approximately correct you can either use the directional arrows on your keyboard or the Move Tool which you can see selected in the toolbar to the left. Again it is performed by holding down the left mouse button and releasing when you have it where you want it. If you look at the Layers palette it shows 2 layers - Background and Layer 1 (the blue showing it to be the layer you are working on).
