How to make a joiner photograph - Step 5
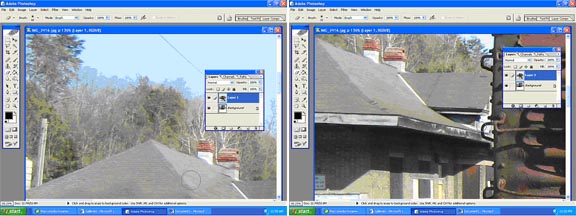
Use the Erase tool to remove up to edges where the differences do not show. Here it is to the dark area below the eaves of the roof. For the areas close to edges the size of the Eraser tool has been changed to a tenth of its previous size.
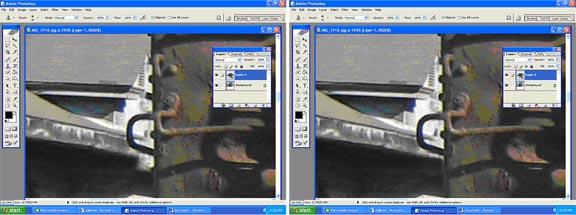
The STAMP tool is used next to correct the rough left hand edge of the truck. This close up shows how much the edges are out of whack.
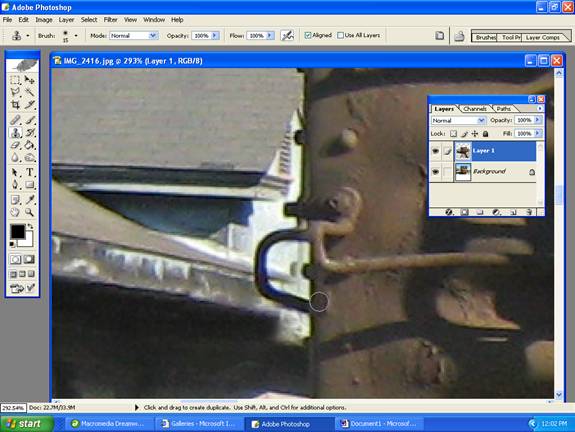
The stamp tool copies from a specific anchor point that you select (by holding Alt on the keyboard and left clicking). Often it pays to make sure your selection tool is placed next to the edge of an item for that initial anchor. The Alt+leftclick is on the dark edge of the truck. Wherever you hold down your left mouse button the next time you will essentially replace the circled area with what you see in the photo above, and as you move it to left and right, copy that original area further - a cross will indicate the area you are copying from at any time. It takes a bit of getting used to but is worth the effort. Changing an area usually takes several goes. The next image shows the edges of the truck and lower roof after being partially adjusted.